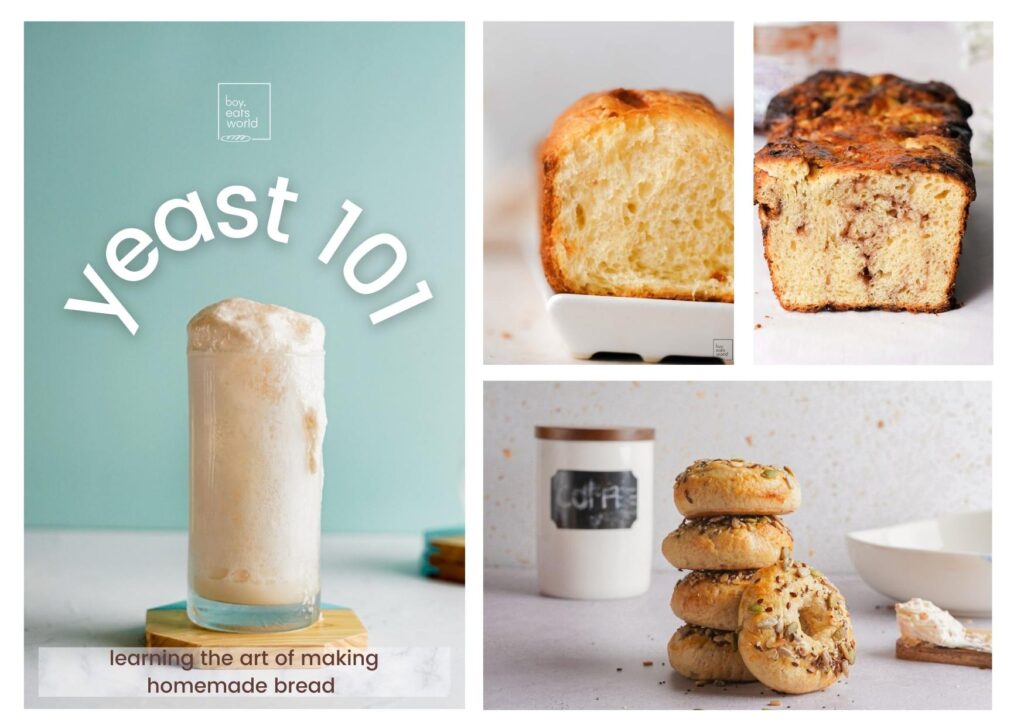
have you ever wondered why your homemade bread isn’t light and spongy in texture? Have you ever wondered why your bread has not risen to its full potential? The answer to all your questions is YEAST. In this blog, we will talk about different yeast and their reactions to different types of flours.
We will also go into detail with certain Do’s and Don’t’s of the rising agent.
Yeast is a widely used and essential ingredient in baking. Saccharomyces Cerevisiae, or “sugar-eating fungus,” is the scientific name for the yeast used by bakers. It’s a large word for such a small organism! This yeast is extremely robust and capable of fermentation, which is the process by which bread dough rises. Yeast is used as a leavening, or raising agent in the baking of bread and similar foods.
To use the yeast appropriately, one must first start by understanding the types of yeasts, there are available in the market. Here are a few types of yeast:
What are the types of Yeasts?
1. Fresh yeast
- Cream/beige in colour
- Beer-like odour
- Can be stored in the refrigerator for 2-3 weeks.
- Use 15g of fresh yeast to 450g flour. (Double qty. Of Dried Yeasts)
- It must be blended with a liquid until frothy before adding to the flour.
2. Dried yeast
- Brownish grains.
- Yeast is dried to remove most water.
- Can last up to six months.
- Use 7g dried yeast to 450g flour.
- It must be activated with a warm liquid (water) and a food source before adding to the flour.
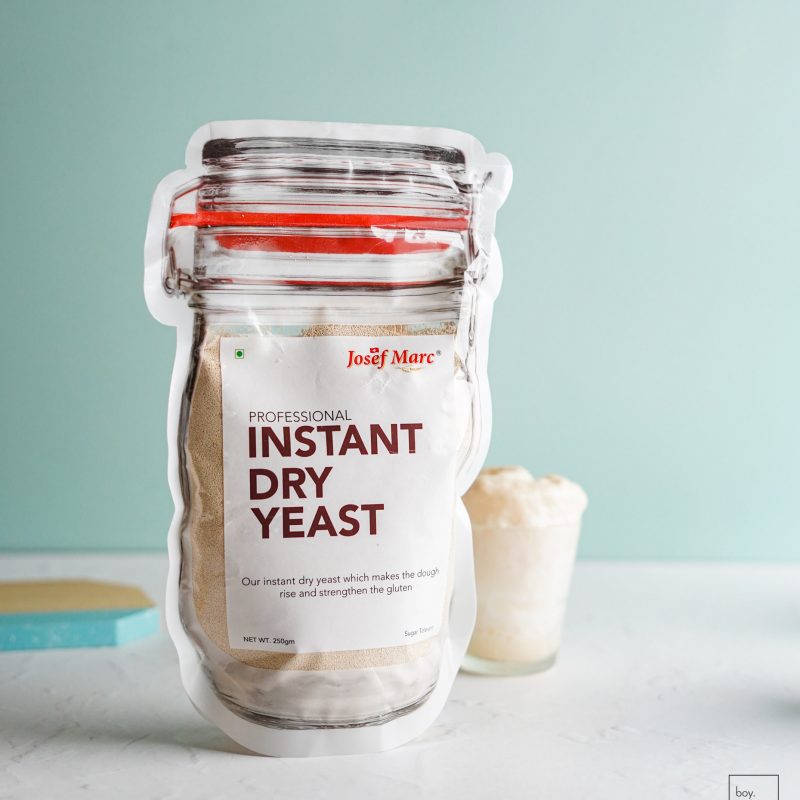
3. Active Instant dried yeast
- A mixture of dried yeast and vitamin C, which speeds up fermentation.
- Use 7g fast-action yeast to 450g flour.
It does not need to be rehydrated before using in recipes.
What are the tips and tricks to keep in mind when working with Yeast?


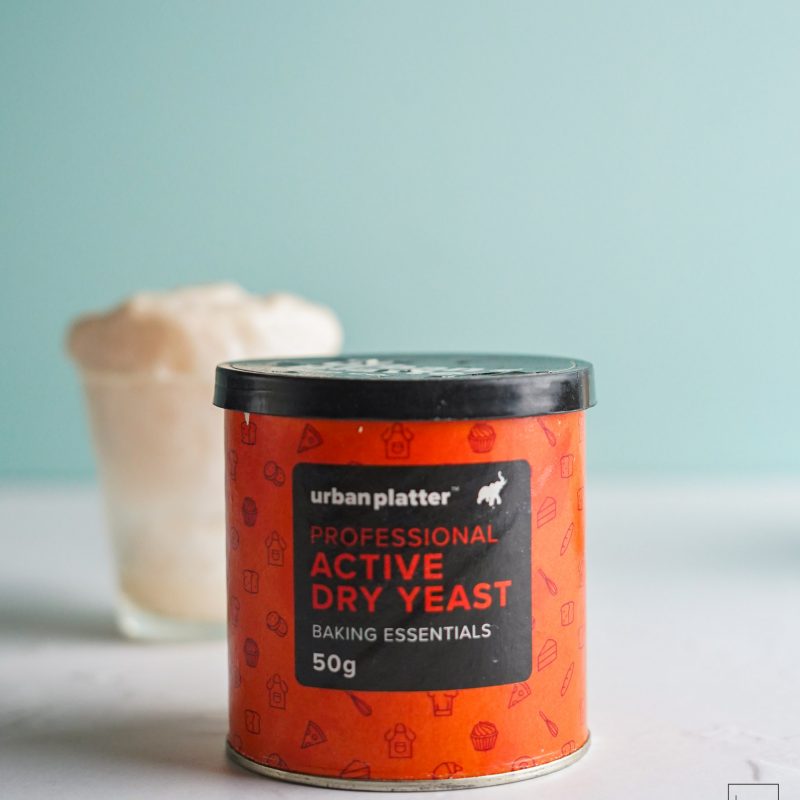
When utilizing yeast, there are a few things to bear in mind. Those who are unfamiliar with yeast may be intimidated by it. However, it is an excellent kitchen tool and is very convenient to use. There are multiple brands that are available in India, from where you can buy yeast from. You may try Modern Bazaar, Urban Platter & Josef Marc.
So here are a few tips and tricks to help you grasp yeast better.
If you’re just getting started with yeast, initially try it out with Active Dry Instant Yeast.
- Temperature: What temperature should yeast be used at?
The most key ingredient when baking bread. Dried yeast must be combined with water to ensure that it has been activated. To monitor the temperature, use the two-finger test. Dip two fingers slowly in the water, all the way to the bottom and then pull them out. If you are unable to do so, this means that the water is too warm for the yeast. Yeast works best with water at room temperature or slightly higher than that. The temperature should be between 70°F and 80°F or 27 to 35 C.
2. Salt: What makes salt a yeast nemesis?
Salt hinders the components of yeast and restrains it from executing its properties. Nevertheless, some recipes require a bit of salt. The goal is to avoid allowing the salt to come into close touch with the yeast. This means that while “activating” your yeast, you should add things like sugar and water. It is best to add salt towards the end of the kneading process.
3. Sugar: How can sugar help yeast?
Sugar is a friend of yeast. This does not imply that you should increase the sugar to reduce the rise or proofing time. That will not work. This is why numerous recipes call for some sugar to be added to the proofing mixture. However, sugar is not required to activate the yeast. Yeast will consume the sugar and carbohydrates in the dough and expire CO2, which is required for the dough to rise. Adding sugar early on will give a better froth to your yeast mixture.
How do you proof a dough?

Here’s a full “PROOF” plan on the way to make your bread delicious! Proofing is a step that activates the yeast in the dough. It helps the yeast to release carbon dioxide which further helps the gluten to stretch to carry the air bubbles. Under-proofing occurs when the dough has not rested sufficiently. If your dough bounces back instantly after being poked, it is under-proofed. Over-proofing occurs when the dough has been proofed for an excessive amount of time and the air bubbles have ruptured. If your dough never springs back after being poked, it’s over-proofed. To reshape and reproof over-proofed dough, press down on it to eliminate the gas, then reshape and reproof. (This procedure is ineffective for sourdough bread.)
You should choose a warm (70-115°F , 20-45° C) and a dark corner designed to optimise proofing by keeping the dough warm and humid. You may make your own proofing box by placing a loaf pan in the bottom of the oven and filling it with 3 cups of boiling water. Close the oven door and place the dough on the rack above. Do this only in a Switched Off Oven!. The hot water will keep the closed oven warm and wet. The optimal temperature for a cold proof is roughly 50°F, whereas the optimal temperature for a room-temperature proof is at 75°F. The Dough should not be proofed over 115°F. When folding and shaping the dough post proofing, be gentle so that no gas bubbles are deflated.
Consider retarding dough by proofing it at a lower temperature (about 50°F), which will reduce the rise and help flavours develop. Cover the dough with a plastic bag or cloth while it is proving to keep it from drying out or creating a skin. In general, the lower the humidity, the crustier the bread develops. Conversely, the greater the humidity, the fluffier the bread as it bakes. Climate control technology installed in proofing zones maintains the temperature and humidity levels required by the baked items for professional bakers. These tips are designed for home bakers to learn and grow.
You may even use a proofing basket to proof your bread. Proofing baskets come in a variety of shapes and sizes, including round, oval, and long. Line them with linen if you want a smooth texture on your bread, or leave them unlined and the design of the basket will imprint on your dough. Once you have kept the dough in the proofing basket, you can go and keep it in the oven to proof.

How does Yeast react with whole wheat flour and all-purpose flour?
Flour is a necessary element in the production of all loaves of bread. Wheat flour is the most often used flour in bread production. It includes a lot of proteins, which when combined with liquids produce gluten. Gluten is a rubbery protein that adds structure and elasticity to doughs and is required in yeast-leavened pieces of bread. The quantity of gluten in the flour influences the volume and softness of the bread. When you knead your yeast dough, the gluten develops a structured network that captures the gases created by the yeast, allowing the dough to stretch and expand during rising. Yeast breads prepared using whole grain flours (such as whole wheat) are more compact and have a smaller volume than those produced with white flour.
Whole wheat doughs are inherently slow rising because of the bran in the wheat, which interferes with gluten production. If you are preparing a new whole-grain recipe, we recommend using the quantity of yeast stated and watching how long it takes the dough to rise entirely. It would require more time to proof compared to All Purpose Flour.
All-Purpose Flour, a combination of hard and soft wheat flour, is ideal for yeast bread and most cakes. all-purpose flour is suitable for all types of baked goods such as bread, biscuits, pizza, cookies, muffins, etc. It is also used in thickening gravies and sauces. All purpose flour and whole wheat flour are mixed typically in a 50:50 ratio for Whole Wheat Breads. Whole grain wheat flours have less gluten and are typically blended with bread flour to ensure adequate volume and appearance in loaves. Whole grain flour can be used to substitute up to 50% of the bread flour.
Flour should be stored in an airtight container in a cold, dry area away from heat. For long-term preservation, flour can be refrigerated or frozen. Allow the flour to come to room temperature before using it. Whole grain flours and other flours include more fat and should be kept in an airtight container in the refrigerator or freezer to maintain freshness and baking quality.


What about Sourdough? What is a Sourdough Starter?
Sourdough baking is an art as much as a science. The frothy, pale ooze fermenting in your fridge serves as a little home for yeast and bacteria. The sourness of the bread comes from the starter.
Sourdough starter is a home-made product made using flour, water, and either a piece of a previously formed starter or just the naturally existing yeast that thrives in our environment. There are numerous methods for leavening bread and pastries. Baking soda, baking powder, and/or eggs are used in quick breads such as banana bread and soda bread. Yeast is used to leaven other baked items such as pizza, sweet rolls, and bread. However, there are still a variety of possibilities within this group.
To prepare baked goods, you can use either a packaged yeast or a Sourdough starter.
Consider sourdough starter to be yeast. Only this time, instead of buying a package of yeast from the supermarket, you’re fermenting wheat and water to create your own living “wild yeast.” That’s all! There are only TWO ingredients!
Imagine the starter to be a low-maintenance pet. To keep it healthy and happy, you must feed it. Everyday, stir in a flour-water mixture to feed it. When it bubbles, you know it’s happy. And, voilà, your starter will be ready to bake some delicious loaves of bread in a week or two. Some individuals feel that bread produced using sourdough starter is healthier than bread prepared with yeast.
NOTE: this blog is a beginner guide to show you how once can start working with Yeast. We will be diving deep into yeast in our upcoming blogs. Keep an eye out for those, where we will be detailing out Autolysis and Preferments
Key Takeaways
There are three types of Yeasts: Instant, Fresh and Dried with Active Dried being the best to start with.
The key ingredients in bread baking are temperature and time and should be followed for better results
All Purpose Flour and Whole Wheat Flour react to Yeasts differently, with All Purpose Flour giving a softer and lighter bread

Hi !
My name is Sohail Nath and I welcome you to @boy.eatsworld.
This blog is your one-stop shop to travel inspirations, authentic yet homemade recipe and food blogs.


